


Hurry and get discounts on all Apple devices up to 20%
Sale_coupon_15
KSh 10,000.00 (Excl. VAT)
Payment Methods:
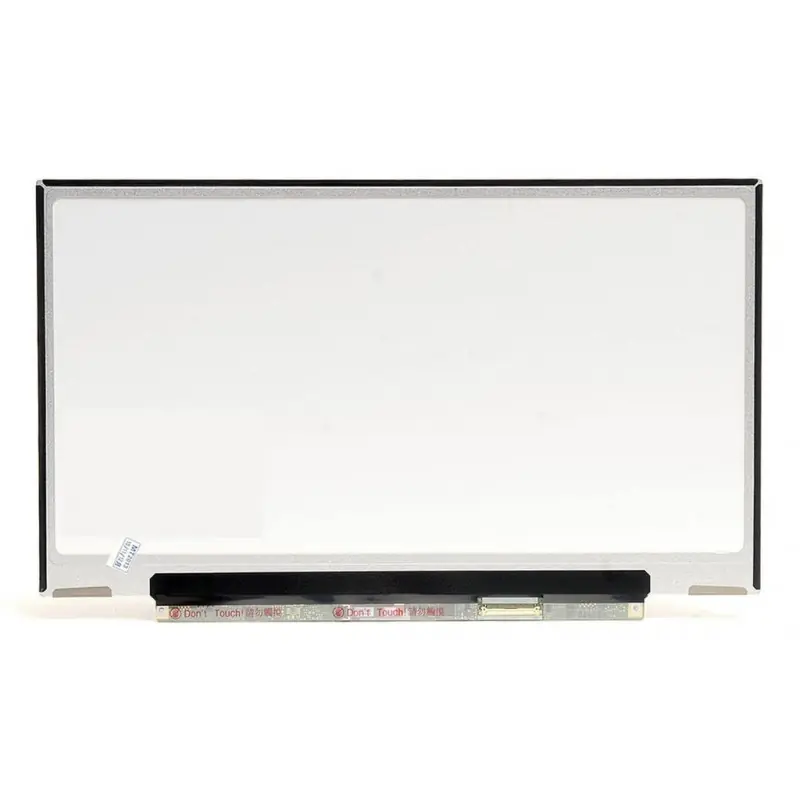
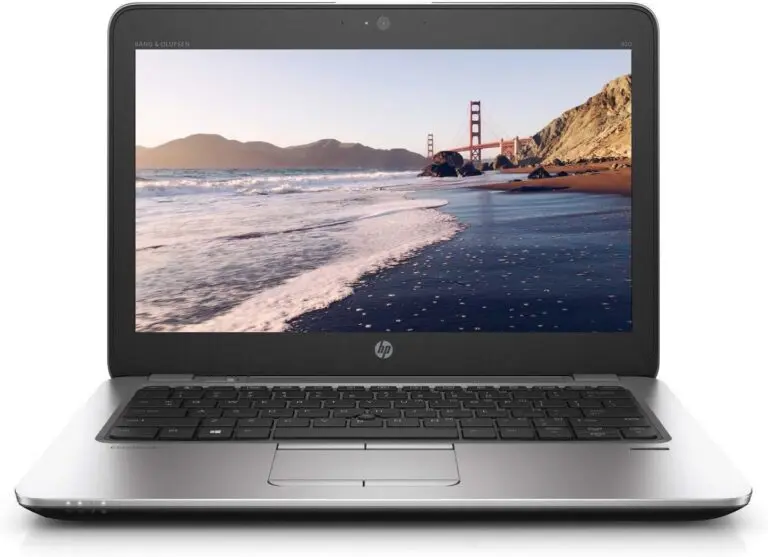
The HP EliteBook 850 G6 screen is a vital component of this premium business laptop, known for its sleek design and powerful performance. However, accidents happen, and a cracked or malfunctioning HP EliteBook 850 G6 screen can significantly hamper your productivity. Luckily, replacing the screen doesn’t have to be a daunting task. In this comprehensive guide, we’ll explore the benefits, costs, and step-by-step instructions to get your screen looking as good as new.
When your laptop screen gets damaged, it’s not just an aesthetic issue, it can also affect usability and performance. A cracked or flickering screen may lead to eye strain and hinder your work efficiency. Replacing the screen can breathe new life into your laptop, allowing you to enjoy crisp visuals once again.
A damaged screen can cause glitches, flickering, or even complete blackouts. By replacing it, you restore your laptop’s display to its original clarity and functionality, ensuring smooth performance during presentations or daily tasks.
A cracked or scratched screen looks unprofessional, especially if you use your laptop in business meetings. A new screen enhances the overall appearance, making your device look pristine and well-maintained.
Working with a broken or unresponsive screen can be frustrating and time-consuming. Replacing it improves your workflow and minimizes distractions, boosting your productivity.
Before you dive into the screen replacement process, gather the following tools and materials:
Replacing your HP EliteBook 850 G6 screen is straightforward if you follow these steps:
Clear your workspace and gather all necessary tools. Lay your laptop on a soft surface to avoid scratches.
Reconnect the battery and power on your laptop. Test the screen for clarity, brightness, and responsiveness. If everything works, you’re good to go!
Even after replacing the screen, some issues may arise. Here’s how to address them:
Replacing your HP EliteBook 850 G6 screen can save you money compared to buying a new laptop. With the right tools and guidance, you can perform the replacement yourself and restore your device’s performance. Whether you choose to DIY or seek professional help, ensuring your screen is in top condition is essential for productivity and usability.
Out of stock
In stock
In stock
No account yet?
Create an Account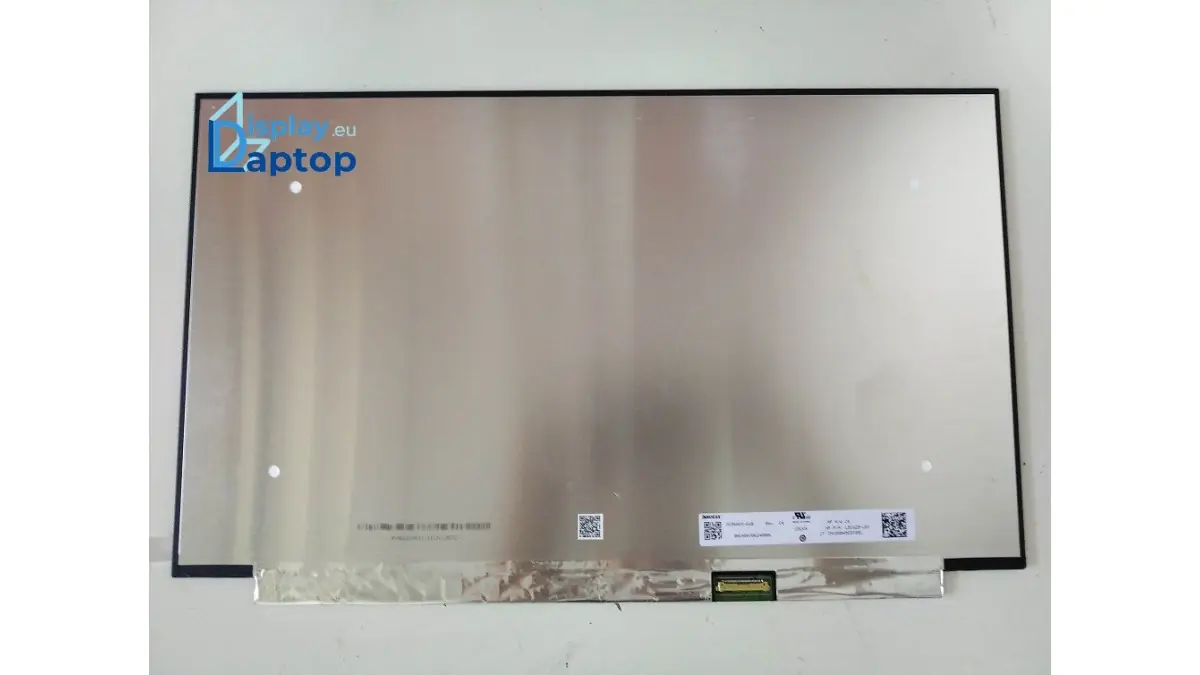


Reviews
Clear filtersThere are no reviews yet.