


 Server
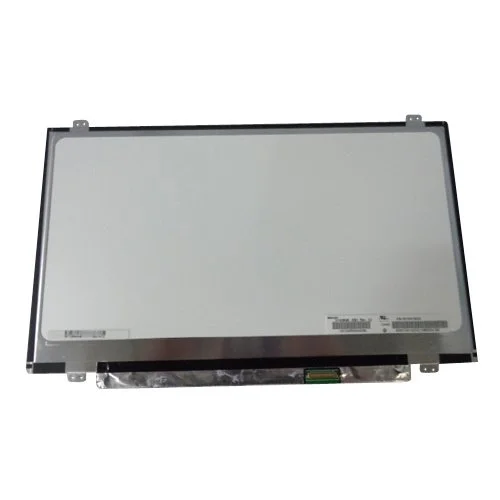
Hurry and get discounts on all Apple devices up to 20%
Sale_coupon_15
KSh5,500.00 excl. VAT
Payment Methods:
If your HP ProBook 4530s has a cracked, flickering, or non-responsive display, replacing the screen is the most effective way to restore clear visuals and everyday usability. A damaged screen can seriously limit productivity, comfort, and mobility — but with the right replacement and proper installation, your laptop can look and perform like new again.
This guide explains the screen replacement process, components needed, step-by-step instructions, and tips to ensure the best outcome.
Your laptop may need a new screen if you see one or more of these issues:
Cracked or shattered screen glass
Flickering image or unstable display
Blank or black screen when powered on
Vertical or horizontal lines
Distorted colors or dead pixels
Dim display even at full brightness
If an external monitor displays normally but the laptop screen does not, this is almost always a display panel issue rather than a graphics problem.
The HP ProBook 4530s typically uses:
15.6-inch widescreen display
HD (1366 × 768) resolution
LED backlight technology
Standard 30-pin or 40-pin eDP/LVDS connector (varies by panel type)
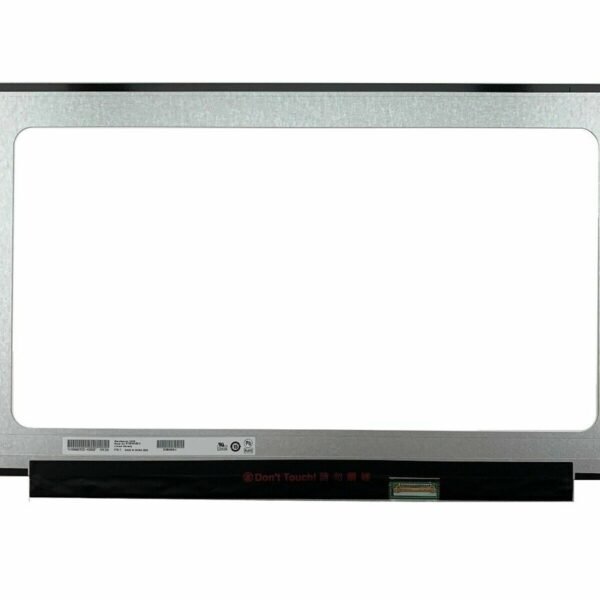
Before selecting a new screen, confirm:
Panel size — 15.6 inches
Resolution — HD or LED type
Connector orientation
Using a mismatched panel may result in a blank screen, incorrect resolution, or a loose fit.
To complete a screen replacement safely, gather:
Small Phillips screwdriver
Plastic removal pry tool (spudger)
Tweezers (optional)
Clean, flat workspace
A soft cloth to protect the display
Avoid metal tools directly on the plastic bezel — they can scratch or damage the casing.
⚠️ Important: Power off the laptop and disconnect the power adapter before starting.
Shut down the laptop completely.
Unplug the AC adapter and remove any connected peripherals.
If possible, remove the battery (for safety).
Disconnecting power prevents electric shorts and protects internal components.
Open the laptop lid fully.
Use a plastic pry tool to gently unclip the bezel from the display frame.
Work gently around all edges — this avoids cracking the plastic.
The bezel is held by small clips; patience and a steady hand prevent damage.
Locate the screws holding the LCD panel to the metal brackets.
Remove these screws and gently tilt the panel forward.
Carefully disconnect the display video cable from the back of the screen.
Do not pull the cable forcefully — connectors are fragile and easily damaged.
Align the replacement screen with the frame.
Carefully attach the display cable in the correct direction.
Ensure the connector is flush and secure.
Screw the panel back onto the mounting brackets.
An incorrectly seated cable can cause a blank or unstable display.
Press the bezel into place around the edges.
Ensure all clips snap in solidly with no visible gaps.
Reconnect the battery or power adapter.
The screen area should fit snugly in the frame without twisting or popping.
Turn on the laptop to check the display.
Confirm clear visuals, correct brightness levels, and no flickering.
If the screen displays normally, the replacement was successful.
At Lansotech Solutions, we provide:
High-quality replacement screens tested for compatibility
Professional installation and calibration
Fast turnaround, often same-day service
Warranty support on parts and installation
Post-replacement performance verification
Professional assistance ensures your laptop is repaired correctly the first time with no loose connections or fitment issues.
After your screen is replaced:
Clean with a soft microfibre cloth
Avoid pressing directly on the screen surface
Keep liquids and dust away from the bezel and keyboard
If flickering or color issues appear, return for inspection
Proper care helps maintain the display’s longevity and appearance.
Get the HP probook 4530s service from Lansotech Solutions now!


No account yet?
Create an Account

 ASUS
ASUS