


 Server
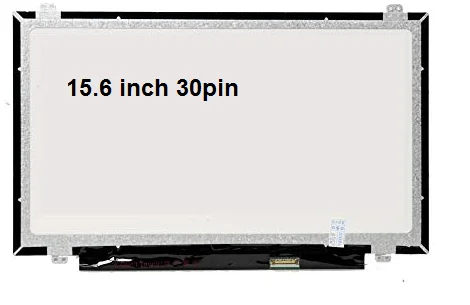
Hurry and get discounts on all Apple devices up to 20%
Sale_coupon_15
KSh6,500.00 excl. VAT
Payment Methods:
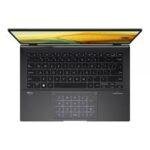
If the screen on your HP Pavilion dv7 laptop is cracked, flickering, displaying lines, or completely blank, you may need a screen replacement. Replacing the screen can restore clear visuals and full laptop functionality. This guide explains what screen you need, how replacement works, tools required, and helpful tips to make the process smoother.
You should consider replacing your laptop screen if you notice:
Cracked or broken display glass
Vertical or horizontal lines on the screen
Flickering or unstable images
Blank or black display while the system powers on
Dead pixels, distortion, or color issues
These symptoms usually indicate that the LCD panel or backlight has failed or suffered physical damage.
The HP Pavilion dv7 series was offered with a variety of screen options. Before purchasing a replacement, you must confirm your current panel’s:
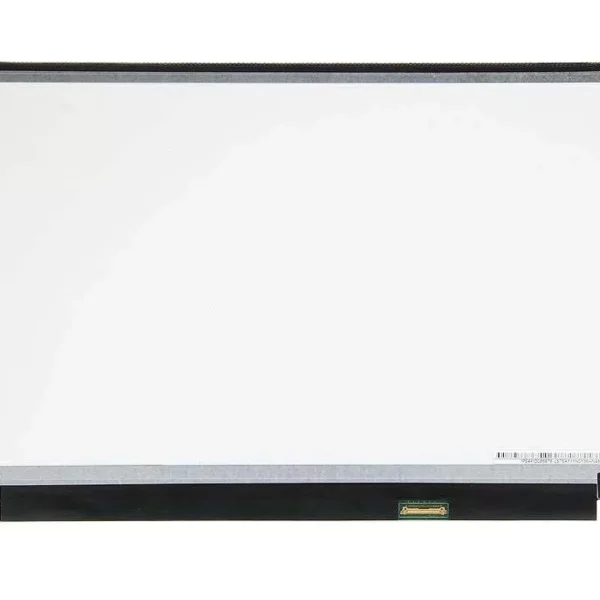
Screen size (commonly 15.6 inches)
Resolution
Backlight type (LED or CCFL)
Connector type and position
✔ 15.6-inch HD LED panel (1366 × 768) — Standard resolution used in many dv7 models
✔ 15.6-inch Full HD LED panel (1920 × 1080) — Higher clarity panel (only if originally supported)
⚠ Important: Always match the resolution and backlight type of the new screen with your original display to ensure compatibility.
To replace the screen, prepare:
Small Phillips screwdriver
Plastic pry tool / spudger
Tweezers
Anti-static wrist strap (optional)
Clean microfiber cloth
No soldering is required—screens are mounted using screws and ribbon cables.
⚠ Safety First: Always power off the laptop, unplug the charger, and remove the battery before starting any repair.
Shut down the laptop completely.
Unplug the power adapter.
Remove the battery if possible.
Use a plastic pry tool to gently remove the front bezel (plastic frame around the screen).
Work slowly at the edges to avoid damaging clips.
With the bezel removed, you’ll see screws securing the screen to metal brackets.
Carefully remove these screws.
Tilt the screen forward gently.
Locate the video cable on the back of the panel and disconnect it carefully.
Pull the connector (not the cable itself) to avoid damage.
Position the new screen in place.
Reconnect the display cable securely.
Reinstall the mounting screws.
Snap the bezel back on carefully, ensuring all clips secure properly.
Reinsert the battery and reconnect power.
Turn on the laptop and confirm the new screen displays correctly. Check for proper brightness, colors, and viewing angles.
Before ordering a replacement screen, verify:
✔ The screen size (commonly 15.6 inches)
✔ The resolution (HD 1366 × 768 or Full HD 1920 × 1080)
✔ The backlight type (LED or CCFL)
✔ The connector type (ensure the replacement panel uses a compatible connector)
Matching these ensures the replacement screen will work properly with your laptop.
Using metal tools to pry the bezel
Pulling on the ribbon cable instead of the connector
Buying the wrong resolution panel
Touching the LCD surface with bare fingers
Skipping compatibility verification
Avoid these mistakes to prevent further damage and ensure a successful installation.
The final cost of screen replacement depends on:
The resolution you choose
Whether you install the screen yourself or hire a technician
Part quality (OEM vs compatible panel)
Shipping costs
Full HD screens are usually more expensive than standard HD panels but offer sharper visuals.
Recommended if you are not comfortable with laptop hardware
Provides warranty or quality assurance
Verifies part compatibility before installation
Saves on labor cost
Requires careful handling and following instructions
A good option if you have basic tool experience
Replacing your HP Pavilion dv7 screen restores visual clarity, fixes display issues, and extends the life of your laptop. With careful part selection and proper installation, you can enjoy crisp visuals and reliable performance again.
Upgrade your HP screen laptop and redefine your display expectations with our exceptional screen replacement. Whether you’re gaming, working, or enjoying multimedia content, our screen replacement guarantees an enhanced visual experience that surpasses all others.
Get the HP pavilion dv7 service from Lansotech Solutions now!
No account yet?
Create an Account

 ASUS
ASUS