


")

Hurry and get discounts on all Apple devices up to 20%
Sale_coupon_15
KSh4,000.00 excl. VAT
Payment Methods:
Is your Lenovo IdeaPad 100-14IBD showing signs of wear on its screen casing? Maybe the front bezel is cracked or the back cover is scratched or broken. Don’t worry! This blog will guide you step-by-step on how to replace both the LCD back cover and front bezel casing (AB) on your Lenovo IdeaPad 100-14IBD. It’s easier than you think—and yes, even a primary school student can understand it!
Before we dive into the replacement process, let’s understand what these parts are.
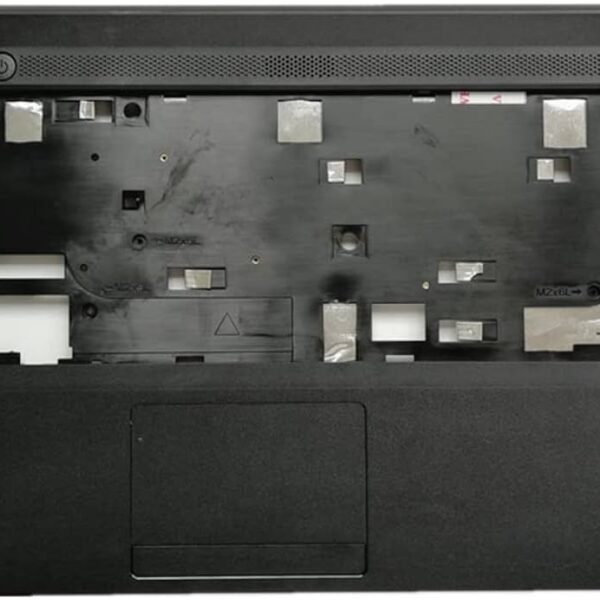
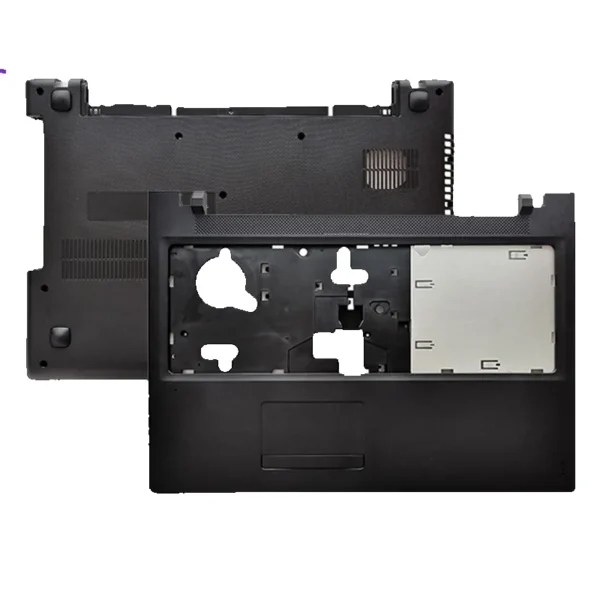
This is the hard shell on the back of your laptop screen. It protects the LCD screen from the back and gives the laptop its sleek look.
The bezel is the plastic frame around your laptop screen. It keeps the screen in place and hides screws and wires.
There are several reasons you might need a replacement:
The casing is cracked or broken
The hinges have become loose
The screen is not sitting properly
You want to give your laptop a fresh look
Replacing them can protect your laptop screen and make your device look like new again.
Here are the tools you’ll need for the replacement job:
Small Phillips screwdriver
Plastic prying tool or guitar pick
Soft cloth
Replacement LCD back cover and front bezel
A small tray or bowl for keeping screws safe
Let’s get started! Follow each step carefully.
First, turn off your laptop. Unplug it from any power source and remove the battery if it’s removable. Safety first!
Open the laptop so the screen is facing you. Use a plastic prying tool to carefully lift the bezel. Start from one corner and work your way around slowly. Don’t rush, or you might crack the plastic.
📝 Tip: If it feels stuck, check if there are screws hidden under rubber covers.
Now, you’ll see small screws at the corners of the screen. Remove them with a small screwdriver. Place them in your tray or bowl so you don’t lose them.
Gently lay the screen forward on the keyboard. There will be a cable connected to the back of the screen. Carefully disconnect this cable.
Next, unscrew the hinges connecting the back cover to the base. Once the hinges are free, remove the back cover by lifting it up and away.
Place your new back cover in the same position as the old one. Screw it back into the hinge brackets.
Connect the screen cable back in place. Be sure it’s secure and tight.
Lift the screen back into position. Use your saved screws to attach it firmly.
Take the new bezel and snap it gently around the screen. Press along the edges until it clicks into place.
Reinsert the battery, plug in your laptop, and turn it on. If everything is working, give yourself a high five!
Work on a flat, clean surface.
Be gentle. Laptop parts are delicate.
Watch a few tutorial videos online if you’re unsure.
If a screw doesn’t fit, don’t force it.
Get the LENOVO Idea Pad 100-14IBD CD from Lansotech Solutions today
No account yet?
Create an Account

 ASUS
ASUS