


 Server
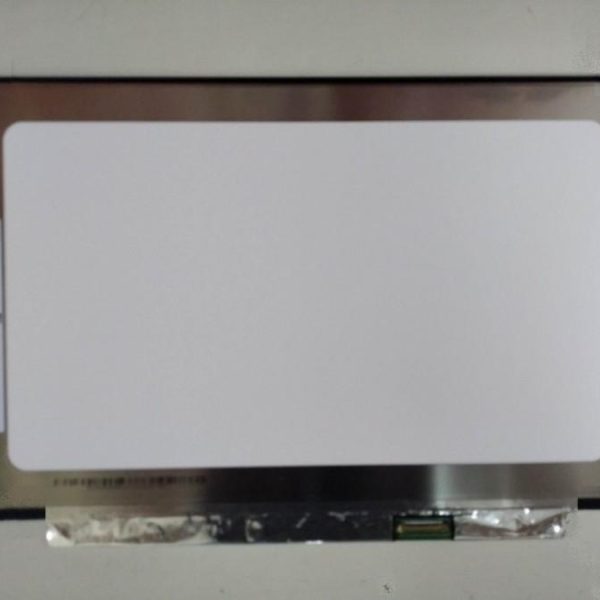
Hurry and get discounts on all Apple devices up to 20%
Sale_coupon_15
KSh7,000.00 excl. VAT
Payment Methods:
Replacing the screen on your HP 14-dk0002dx laptop restores clear visuals, fixes cracked or damaged panels, and brings your portable computer back to reliable use. Whether the issue is a broken display, flickering image, or completely blank screen, this guide explains what you need to know about compatible screens, how replacement works, and important tips.
You may need a new screen if you experience:
Cracks or physical damage
Lines, spots, or flickering on the display
White, blank, or distorted screen
Screen backlight not working
Partial display or black bars
These are common symptoms of an LCD panel or display cable failure, which usually requires a screen replacement.
The HP 14-dk0002dx typically uses a 14-inch LCD panel with a 1366 × 768 or 1920 × 1080 (Full HD) resolution, depending on the specific configuration. Before purchasing a replacement, check your exact current screen resolution and backlight type.
1366 × 768 HD LED Replacement — Standard for many HP 14-series models.
1920 × 1080 Full HD LED Replacement — Brighter, sharper image quality (if originally supported).
⚠ Important: Make sure the screen you buy matches your laptop’s native resolution and connector type.
To safely replace the screen, prepare:
Small Phillips screwdriver
Plastic pry tool or spudger
Tweezers
Anti-static wrist strap (optional)
Clean microfiber cloth
All parts are typically connected using screws and ribbon/display cables — no soldering required.
⚠ Always power off the laptop and unplug the charger before repairing. Remove the battery if possible.
Shut down the laptop completely.
Unplug the charging cable.
Remove the battery if it’s detachable.
Use a plastic pry tool to gently release the bezel (plastic frame) around the screen.
Start at the bottom and work around the corners — avoid using metal tools to prevent cracking.
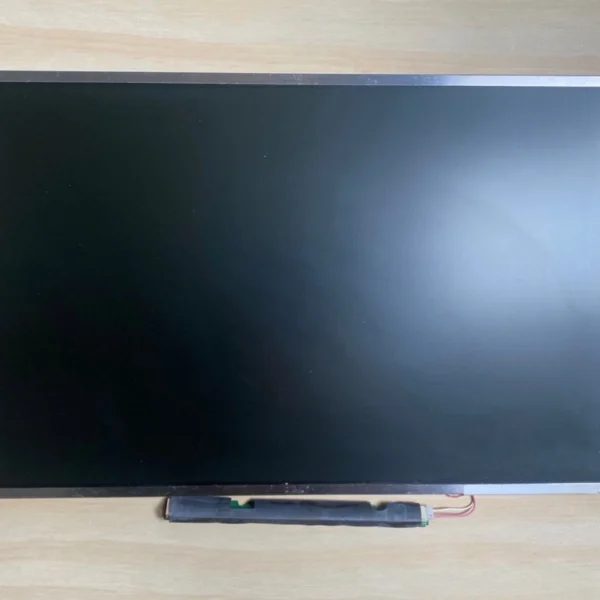
With the bezel off, you’ll see screws holding the display panel to metal brackets.
Remove the screws on both sides carefully.
Gently tilt the panel forward.
Locate the back of the display cable (usually at the bottom center) and disconnect it.
Pull from the reinforced connector area — do not pull on the cable itself.
Position the new screen in place.
Reconnect the display cable securely.
Reinstall the mounting screws.
Snap the bezel back onto the frame, ensuring all clips lock properly.
Reinstall the battery (if removed) and reconnect power.
Turn on the laptop to confirm that the new screen displays correctly — check brightness, clarity, and colors.
Before ordering a replacement screen, verify:
✔ The screen size (14 inches)
✔ The resolution (1366 × 768 or 1920 × 1080)
✔ The connector type and position (usually 30-pin for this model)
✔ Whether the backlight is LED (most common)
Matching the above ensures the replacement screen functions properly with your laptop.
Using force when removing the bezel
Pulling the display cable directly by the wires
Installing a screen with incorrect resolution
Touching the LCD surface with bare fingers
Not checking the connector orientation
Avoid these to ensure a successful and damage-free installation.
Consider professional installation if:
You’re not familiar with laptop hardware
You want warranty or guaranteed installation
The display cable or motherboard may also be damaged
You prefer an expert speed and precision
A technician can verify compatibility and reduce the chance of damage during installation.
The cost of replacing the screen will depend on:
The screen resolution (HD vs Full HD)
Whether you choose LED backlit panels
Whether you install the screen yourself or have it professionally done
Parts sourcing and shipping costs
LED full HD screens generally cost more but offer superior brightness and clarity.
Get the HP 14 dk0002dx service from Lansotech Solutions now!
No account yet?
Create an Account

 ASUS
ASUS