


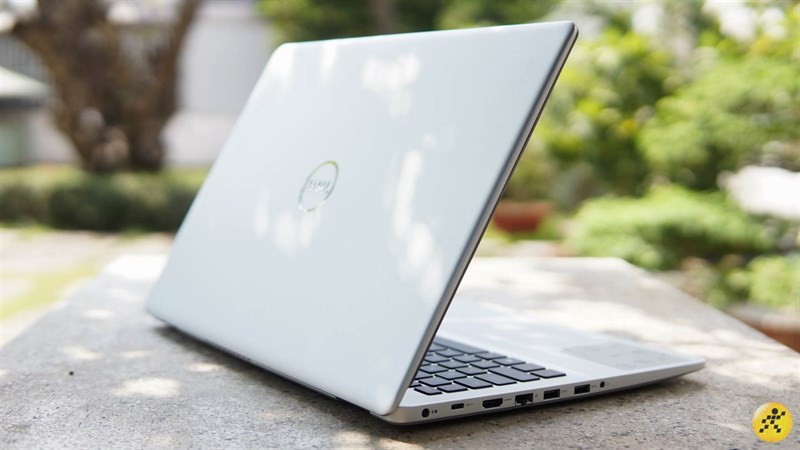
If your machine is still running on a mere 4GB of RAM, you’re likely experiencing the bottleneck of insufficient memory in today’s demanding digital world. Upgrading your laptop’s RAM from 4GB to 16GB RAM is arguably the most impactful and cost-effective upgrade you can make to breathe new life into an aging machine, significantly improving its responsiveness and multitasking capabilities.
This guide will walk you through everything you need to know about how to upgrade 4GB RAM to 16GB in your laptop, with practical advice tailored for the Kenyan market.
Disclaimer
While upgrading RAM is generally a straightforward process, opening your laptop may void its warranty.
Step 1: Crucial Compatibility Check – Know Your Laptop!
Before you even think about buying new RAM, you absolutely must confirm your laptop’s current specifications and its upgrade potential. This is the single most critical step to avoid purchasing incompatible parts.
- Identify Your Laptop Model:
- Look for a sticker on the bottom of your laptop with the exact model name and number (e.g., “HP Pavilion 15-cs0xxx,” “Dell Latitude 5490,” “Lenovo IdeaPad 330-15IKB”).
- In Windows, you can also search for “System Information” in the Start menu, or right-click “This PC” > “Properties” to find basic model details.
- Determine Current RAM Configuration & Maximum Capacity:
- RAM Type (DDR generation): Is it DDR3, DDR4, or even the newer DDR5? Most modern laptops use DDR4. Installing the wrong generation will prevent it from working.
- Current Speed (MHz): Note the speed of your existing RAM (e.g., 2400MHz, 2666MHz, 3200MHz). While you can sometimes mix speeds, all modules will operate at the speed of the slowest stick. For optimal performance, it’s best to match or exceed the existing speed (if your motherboard supports it).
- Number of Slots: How many RAM slots does your laptop have? Most have two, but some ultra-thin or budget models might only have one, or even have RAM soldered directly to the motherboard (meaning it cannot be removed, but you might be able to add a stick to an empty slot).
- Maximum Supported RAM: What’s the highest amount of RAM your laptop’s motherboard can handle in total? This is a hard limit.
How to Check:
- Crucial System Scanner (Highly Recommended): Visit the Crucial website (www.crucial.com) and use their free “System Scanner” tool. This small download analyzes your system and provides precise, guaranteed compatible RAM upgrade options for your specific laptop. It’s incredibly reliable.
- Windows Task Manager: Press
Ctrl + Shift + Esc, go to the “Performance” tab, then click “Memory.” It will show your current RAM amount, speed, and how many slots are used (e.g., “1 of 2 slots used”). - Manufacturer’s Website/Manual: Look up your laptop model on the manufacturer’s official support website. They usually provide detailed technical specifications including RAM type, slot count, and maximum supported capacity.
- CPU-Z (Advanced): A free utility that offers extremely detailed information about all your hardware, including RAM.
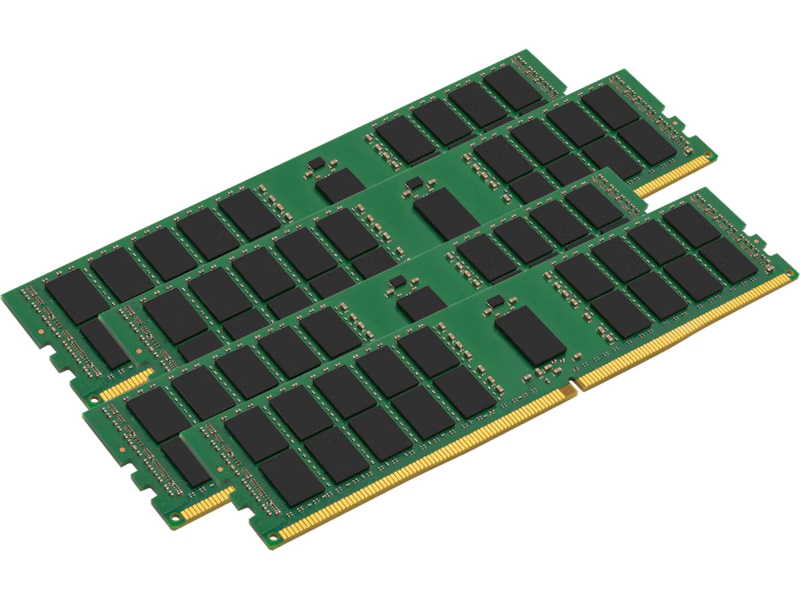
Step 2: Purchase the Right RAM in Kenya
Once you have the precise specifications (DDR type, speed, SODIMM/DIMM), you can confidently purchase your new RAM.
- Match Type and Speed: If your laptop uses DDR4 3200MHz, buy DDR4 3200MHz RAM. While mixing speeds can work, it’s not ideal as all modules will run at the speed of the slowest stick. For best performance, match the speed or upgrade all modules to a faster, compatible speed if your system supports it.
- Reputable Brands: Prioritize well-known brands that offer reliability and good warranties. Look for Crucial, Kingston, Samsung, Lexar, Hynix, G.Skill, Corsair.
- Where to Buy in Kenya:
- Online Stores: Reputable online tech retailers like Lansotech Solutions, Devices Technology Store, Buytec Stores, Saruk Digital Solutions, Novatech Technologies, and Shopit often have good stock, competitive pricing, and delivery services across Kenya.
- Physical Shops in Nairobi CBD: Head to major tech hubs like Moi Avenue, Kimathi Street, and Ronald Ngala Street. Shops like FGEE Technology, Lansotech Solutions,Deprime Solutions, Marksonic Computers, and Almiria Techstore are good places to check.
- Service Centers/Computer Repair Shops: If you’re unsure or prefer professional installation, take your laptop to a trusted repair shop. They can source the correct RAM and install it for you, often for a reasonable service fee. They will also be able to test compatibility.
Step 3: Prepare for Installation – Safety First!
Proper preparation is key to a smooth and safe upgrade.
- Backup Important Data: Although a RAM upgrade doesn’t typically affect your files, it’s always best practice to back up critical data before opening your computer.
- Gather Tools: You’ll most likely need a small Phillips head screwdriver (PH00 or PH0). A plastic pry tool (often used for phone repairs) can be helpful for gently unlatching plastic clips without scratching the case.
- Find a Clean, Well-Lit Work Area: Work on a flat, stable surface. Avoid working on carpets, as they can generate static electricity which can damage sensitive components.
- Ground Yourself: Static electricity is your enemy! Before touching any internal components, discharge any static electricity from your body. Touch an unpainted metal object (like a metal table leg or the metal casing of a desktop PC) for a few seconds. Ideally, use an anti-static wrist strap, which clips to a grounded metal object.
- Completely Power Off Your Laptop: Do not just close the lid or put it to sleep. Go to Start > Power > Shut down.
- Unplug All Peripherals: Disconnect the power adapter, mouse, keyboard, external drives, USB sticks, etc.
- Remove External Battery (if applicable): If your laptop has a battery that you can easily remove (usually with latches), take it out.
- Discharge Residual Power (for internal batteries): If your laptop has an internal, non-removable battery, hold down the power button for 10-15 seconds after unplugging it. This drains any remaining power from the system.

Step 4: Open Your Laptop Case
This is the trickiest part, as it varies significantly by laptop model.
- Consult Your Laptop’s Manual or Online Resources: This is absolutely essential. Search for a teardown video or a service manual specific to your exact laptop model on YouTube or the manufacturer’s support website. These resources will show you exactly where screws are, how to release clips, and where the RAM slots are located.
- Locate Access Panel (if fortunate): Some older or business-oriented laptops have a small, dedicated access panel on the bottom, usually secured by a few screws. Removing this panel gives direct access to the RAM slots.
- Remove the Entire Back Panel (Most Common): For many modern thin and light laptops, you’ll need to remove the entire bottom panel.
- Carefully unscrew all visible screws on the bottom. Pay attention to screw lengths – some might be shorter or longer and need to go back in their original spots. (Pro tip: use a magnetic mat or draw a diagram to keep track of screws).
- Check for hidden screws, which are sometimes located under rubber feet or stickers.
- Once screws are out, gently pry open the panel. Use a plastic pry tool to carefully work your way around the edges, releasing any plastic clips that hold the panel in place. Be patient and gentle to avoid breaking clips.
Step 5: Locate and Replace/Add RAM
Once the back panel is off:
- Locate RAM Slots: Find the rectangular RAM modules. They are usually inserted into slots with small metal clips on either side.
- Remove Old RAM (if replacing): If you’re replacing a 4GB stick, gently push the small metal clips outwards on both sides of the RAM module. The stick should pop up at a slight angle. Hold the stick by its edges (avoid touching the gold connectors) and carefully slide it out.
- Install New RAM:
- Hold the new RAM stick by its edges.
- Carefully align the notch (or notches) on the RAM stick with the corresponding notch in the RAM slot. This ensures it’s inserted in the correct orientation.
- Insert the RAM stick at a 30-45 degree angle into the slot.
- Gently but firmly push down on the stick until it clicks into place and the metal clips automatically snap over the edges, holding the RAM module flat and secure. You should hear distinct clicks.
- If installing two sticks, ensure both are fully seated.
Step 6: Reassemble and Test Your Laptop
You’re almost there!
- Replace the Back Panel: Carefully align the bottom panel back onto the laptop and snap/screw it back into place. Ensure all screws are returned to their original positions and tightened appropriately (don’t overtighten).
- Reinsert External Battery (if removed): If your battery was removable, put it back in.
- Reconnect Power: Plug in your laptop’s power adapter.
- Power On: Turn on your laptop. The first boot after a RAM upgrade might take slightly longer than usual as the system recognizes the new memory.
- Verify RAM:
- Windows: Once logged in, open Task Manager (
Ctrl + Shift + Esc), go to the “Performance” tab, then click “Memory.” You should now see the new, higher RAM amount (e.g., “16.0 GB”). - macOS: Click the Apple menu in the top-left corner > “About This Mac.” The memory information will be displayed.
- Windows: Once logged in, open Task Manager (
When to Seek Professional Help in Kenya
While this guide provides comprehensive steps, some situations warrant professional assistance:
- You’re Uncomfortable: If you’re not confident with opening electronics, don’t risk damaging your laptop.
- Difficult Models: Some ultra-thin laptops or those with complex internal layouts are very challenging to open without special tools or expertise.
- Compatibility Concerns: If you’re still unsure about the exact RAM type or max capacity after checking, a professional can confirm it.
- Post-Upgrade Issues: If your laptop doesn’t boot correctly or shows errors after installation, a technician can diagnose the problem.
Reputable computer repair shops in Nairobi can perform RAM upgrades safely and efficiently, ensuring your laptop runs optimally. Investing in a professional upgrade gives you peace of mind and preserves your device.
If your laptop boots up and shows the correct RAM amount, congratulations! You’ve successfully upgraded your RAM and should experience a noticeable boost in performance. If it doesn’t boot or you encounter issues (e.g., beeping codes, blank screen), power it off, discharge residual power, and double-check that the RAM sticks are fully and correctly seated in their slots.


 ASUS
ASUS