



 Laptop Computers
 Desktop Computers
 Printers
 Network
 Software
 Laptop Accessories
 Laptop Components
 Office
 Desktop peripherals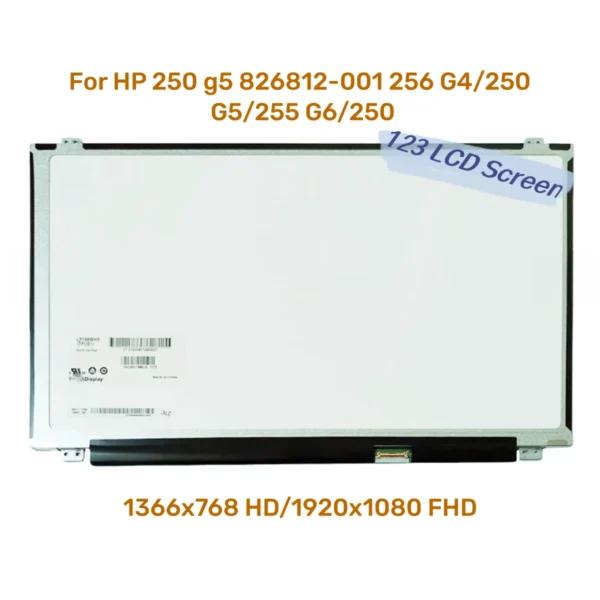


Hurry and get discounts on all Apple devices up to 20%
Sale_coupon_15
KSh5,500.00 excl. VAT
Payment Methods:

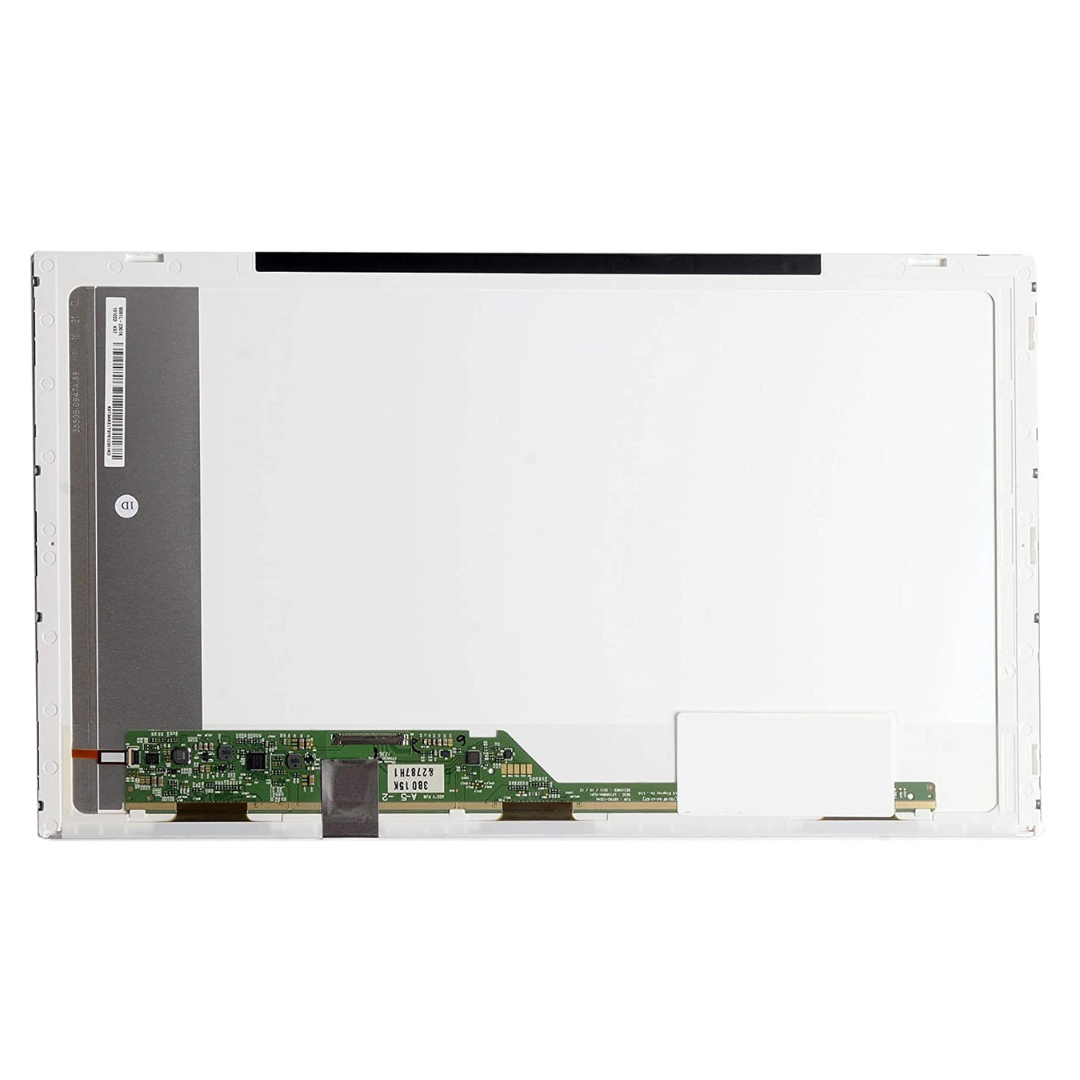
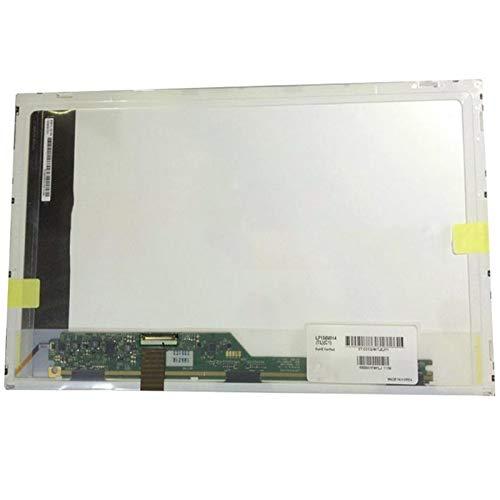
If your HP Pavilion g6 display is cracked, flickering, black, showing lines, or otherwise damaged, replacing the screen is the best way to restore full visual performance. A damaged laptop screen affects usability, productivity, and comfort — but with the correct replacement panel and careful installation, you can bring your laptop back to life.
This guide explains everything you need to know about HP Pavilion G6 screen replacement, including signs you need a new screen, tools required, step-by-step instructions, and helpful tips.
Your HP Pavilion G6 may need a new screen if you see:
Cracked or shattered display glass
Blank or black screen when powering on
Flickering or unstable image
Horizontal or vertical lines
Dark areas, dead pixels, or discoloration
Dim or uneven brightness
If an external monitor shows visuals normally but the built-in screen does not, the display panel is most likely damaged and needs replacement.
The Pavilion G6 series commonly uses:
15.6-inch LCD panel
HD (1366 × 768) or optional Full HD (1920 × 1080) resolution
LED backlit display
Standard 30-pin LVDS/eDP connector
Before buying a replacement screen, confirm:
Exact screen size
Panel resolution (HD or Full HD)
Connector type and position
Incorrect screens may not fit properly or may not display correctly.
To replace the screen safely, you will need:
Small Phillips screwdriver
Plastic pry tool / spudger
Tweezers (optional)
Clean, well-lit workspace
Soft cloth to protect the display
Do not use metal tools directly on plastic bezels, as they can scratch or damage the frame.
⚠️ Important: Always power off the laptop and disconnect the power adapter before starting any repair.
Shut down the laptop completely
Unplug the charger and remove all peripherals
If possible, remove the battery
Disconnecting power prevents electrical shorts during the repair.
Open the laptop lid fully
Use a plastic pry tool to gently pry away the screen bezel
Work slowly around the edges to release all plastic clips
Be patient — excessive force can break the bezel.
Locate the screws holding the display panel to the metal brackets
Remove those screws carefully
Tilt the panel forward gently
Locate and disconnect the video cable from the back of the panel
Handle the cable gently — it is delicate and easily damaged.
Connect the video cable to the replacement panel securely
Align the new screen in position
Screw the panel back into its mounting bracket
Make sure the cable is not pinched or bent
Proper connection prevents flickering or no-display issues.
Press the display bezel back into place
Ensure all clips snap in securely
Check for gaps or misalignment
The bezel should sit flush against the screen housing.
Reconnect power and turn on the laptop
Check for a clean, stable display
Adjust brightness and verify correct colors
If the screen displays normally, the replacement was successful.
At Lansotech Solutions, we offer:
High-quality replacement screens tested for compatibility
Experienced technicians for professional installation
Fast turnaround time and quality assurance
Warranty support on parts and workmanship
Verification of display performance before and after replacement
Choosing professional service reduces the risk of loose connectors, improper fit, or future display problems.
Get the HP pavilion g6 service from Lansotech Solutions now!
 Laptop Computers
 Desktop Computers
 Desktop peripherals
 Laptop Accessories
 Laptop Components
 Network
 Printers
 Server
 Software
No account yet?
Create an Account